Showing posts with label lighting. Show all posts

Thursday, 6 December 2012

Evaluation of filming the 'mouldy food'

            
        The original party food from the master was kept so that we could do extreme close ups of the food. This time however, the food was meant to be off, so look mouldy.
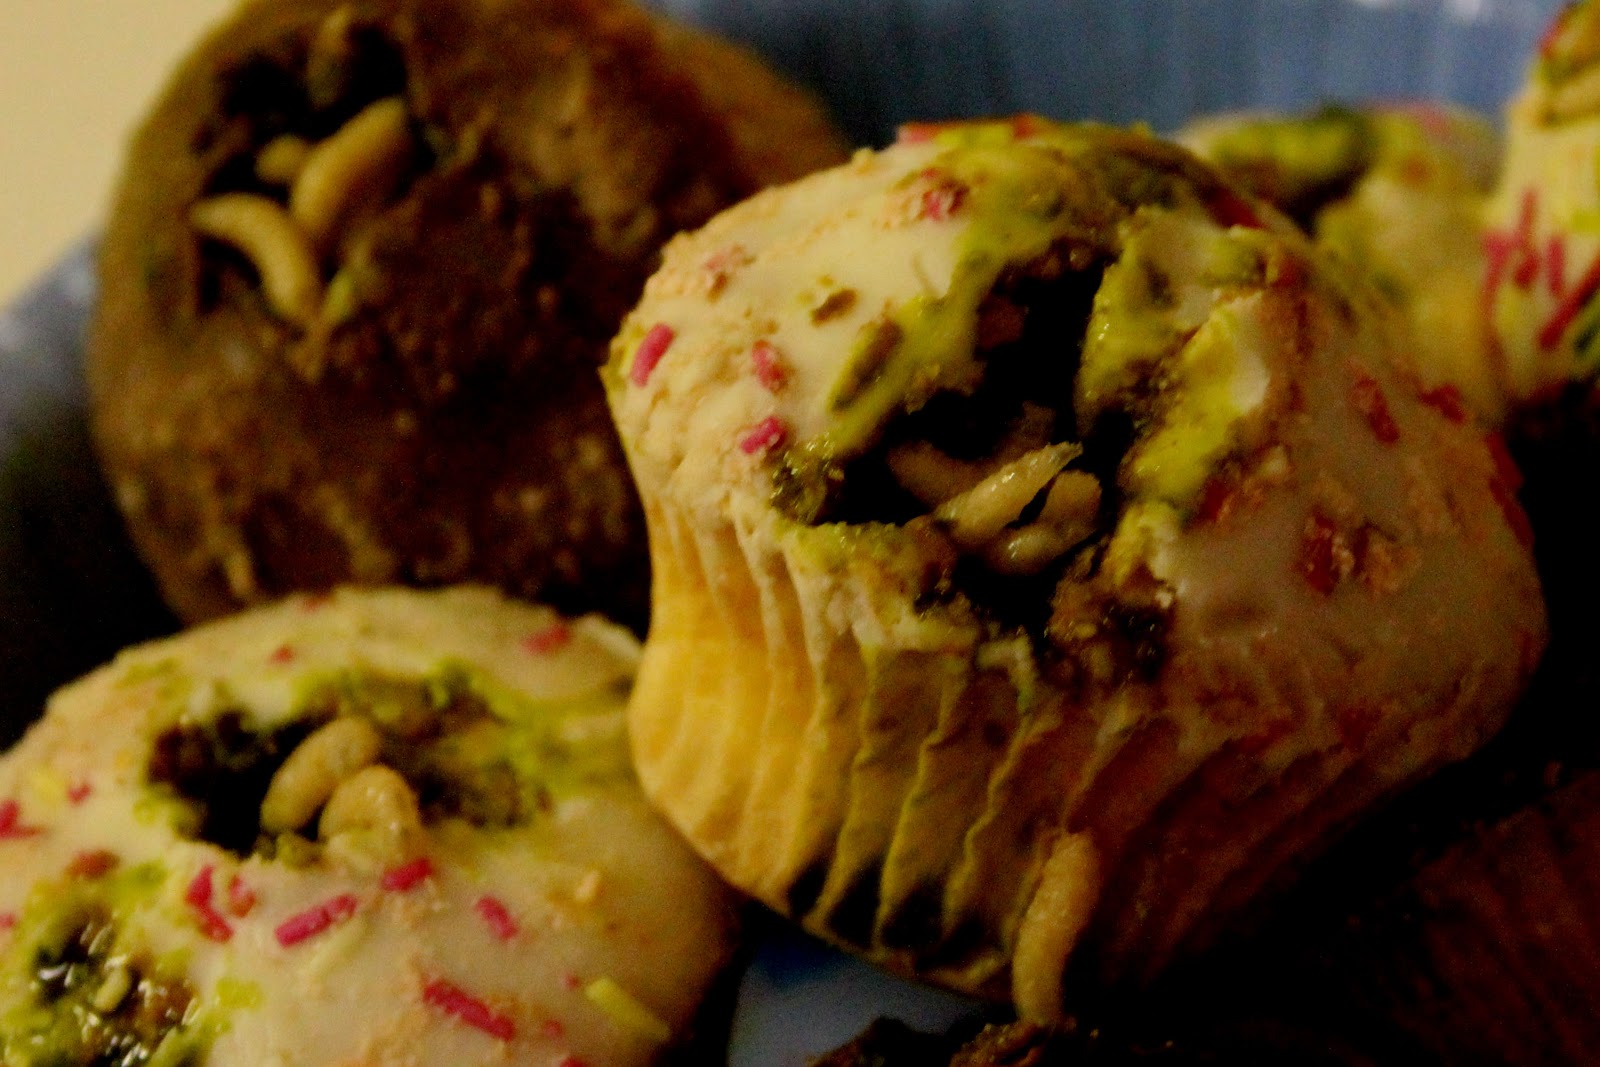


We put all the different foods in separate bowls and with the cakes Amy gouged out little holes and used green food colouring and a paint brush to dab it onto the cakes and make it look mouldy. We also crumpled the other foods to make it look like they had been sitting there for a long period of time. Once the cakes looked mouldy enough we had previously bought live maggots, and poured a few onto each of the bowls so that it added to the effect that the food had been kept for a long time.


         The bowls were then in appropriate places, and the artificial lighting was quite bright in order to fully see the maggots move around. For the extreme close ups we handheld the camera instead of a tripod as we could get a lot closer to the bowls.
    We individually filmed extreme close ups of each bowl so that you could see the full extend of the mouldy food, maggots and disintegrated parts. We suffered no problems except from trying to get extremely close to a biscuit as the camera didn't focus naturally, this just meant to had to re take that certain shot.

Tuesday, 20 November 2012

Evaluation- First day of filming


       Apple Bobbing torture scene.

  •      This scene included our main protagonist and one victim (Lewis) being forced into a bucket of water and he is writhing about.
  •       We started out with an underwater shot of Lewis’s head in the water, the problem at the first was that it was too close up so we couldn’t really see Lewis. The next shot was the same but this time Lewis didn’t put his head so far into the water.
  •       We also made sure that although Amy wasn’t in the shot, she forced his head down into the water so that it looked more natural.
  •       Another problem was the apples were in the way of the camera, so we only put four apples into the box and made sure they were in the corners. Later we had a high angle shot where you can see the apples.
  •       After we made sure the apples were out of the way and Lewis put his head slightly in the water we had a good shot.
  •       The next shot we did for this scene was a mid shot of our main protagonist (Amy) and the victim (Lewis) as she ‘forces his head into the water’
  •       The main issue in this shot was the lighting, we needed to make sure both characters could be seen clearly but it was still dark enough to give off the right connotations.
  •       After a few takes we used a bright lamp so that the corner was bright enough, but half of Amy’s face was in shadow so that it could still give off the right connotations.
  •       The last shot of this scene included another mid shot focusing on Lewis again being pushed into the water; you can just see Amy’s hands on his shoulders.
  •       This shot just adds continuity to the whole scene, so that we can see the continuous flow of Lewis being forced into the water.


Cutting of the smile.

  •  Earlier in the day we painted another victims face (Frankie) to make it look like she has had a face cut into a smile.
  • This shot needed Amy in front of Frankie, and just ‘cutting into her face.’ This proved a problem in terms of lighting again, we moved the lamp and it looked a lot better.
  • The next shot was Amy behind Frankie pulling her head up, this worked rather well as the lighting was bright enough and Frankie looked straight at the camera.


Hammering into the eye.

<!--[if !supportLists]-->·       <!--[endif]-->This next shot was when two victims (Daisy & Harry) are forced to hammer into the other person’s eye.
<!--[if !supportLists]-->·       <!--[endif]-->We had to take quite a few shots as the lighting was a problem due to the fact we were filming in the corner of the room, behind a ladder.


Wednesday, 31 October 2012

interior location test1


  • This video shows the first interior location test we did in our school dungeon. it shows all different light sources, including main lighting. There are three sets of illumination (long stripped) lights which can be very bright, yet obviously the less that are turned on the darker it will be. 
  • We also experimented with smaller sources of light, that being a lamp. This made the light focus on one area and could be good for a more intense situation, however the more evenly spread lighting methods prove better for camera work as the light doesn't stand out more in one place, and less in another.


Sound.

  • As Amy is talking it is very clear with no echoing, this is due to it being a small room with no windows to make any sound. This will make it easier to film as any diegetic dialogue will be clearly heard and no background noise will be picked up.

Thursday, 25 October 2012

Exterior Location - Night-Time Lighting Test


We decided only to use night-time shots for when a character leaves the pub because the amount of lighting actually allowed us to see the action but it still keeps the creepy atmosphere.